# Create email campaign
> Create and send a designed email campaign, from content through to sending.
Source: https://support.amazeful.com/campaigns/campaigns-overview/create-email-campaign
Documentation index: https://support.amazeful.com/llms.txt
## **How to create an email campaign?**
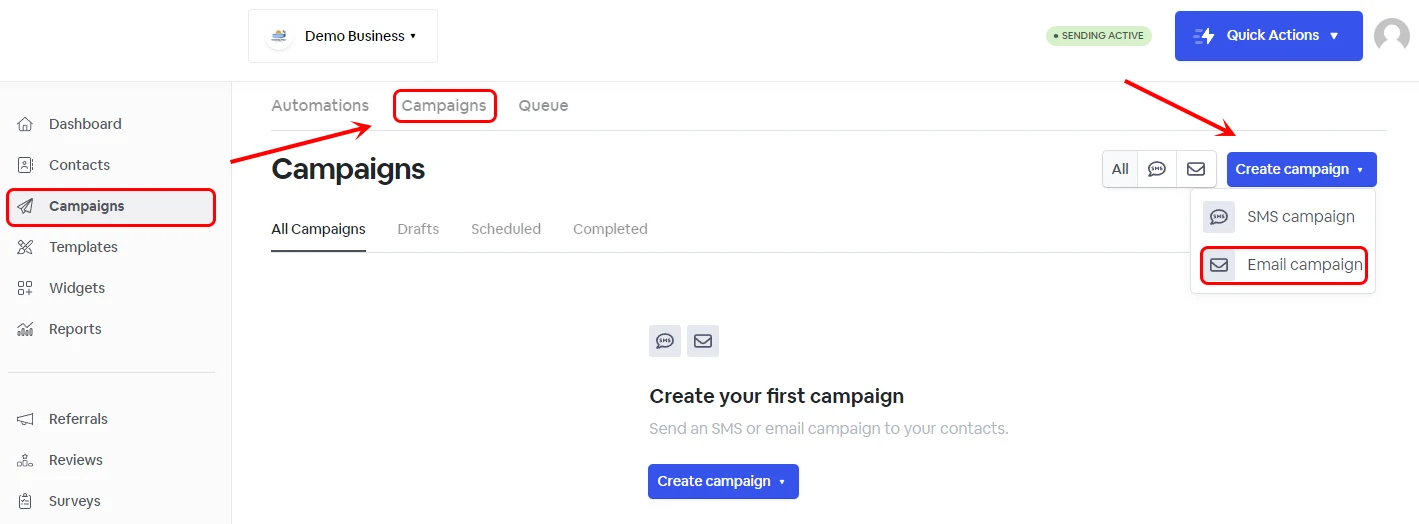
From your dashboard, go to the **Campaigns** tab -> **Campaigns** -> **Create Campaign.**
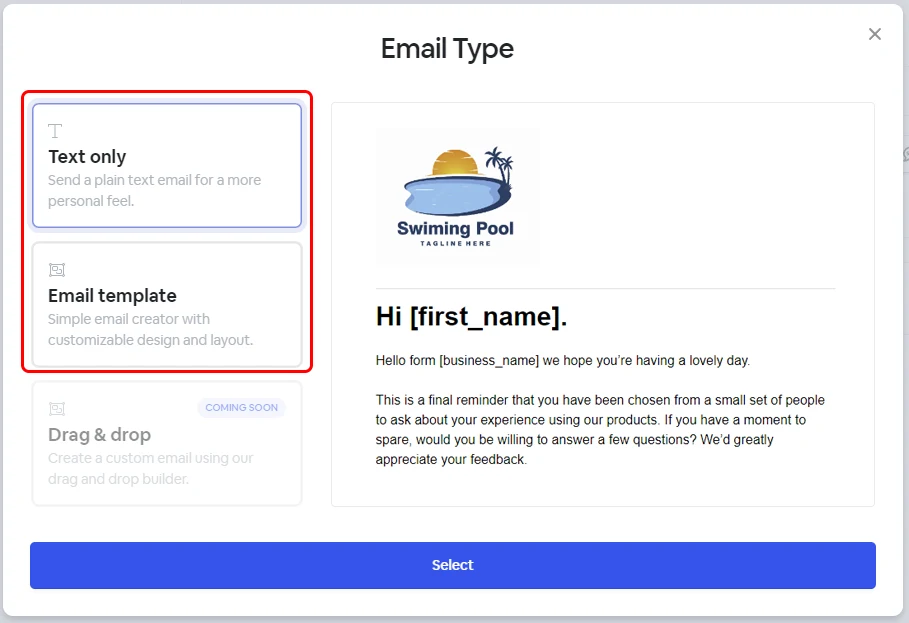
### Selecting the email campaign type
### How to use Atlas, your AI assistant, to generate your marketing campaigns.
- [AI feature - Atlas](https://support.amazeful.com/other/ai-feature-atlas)
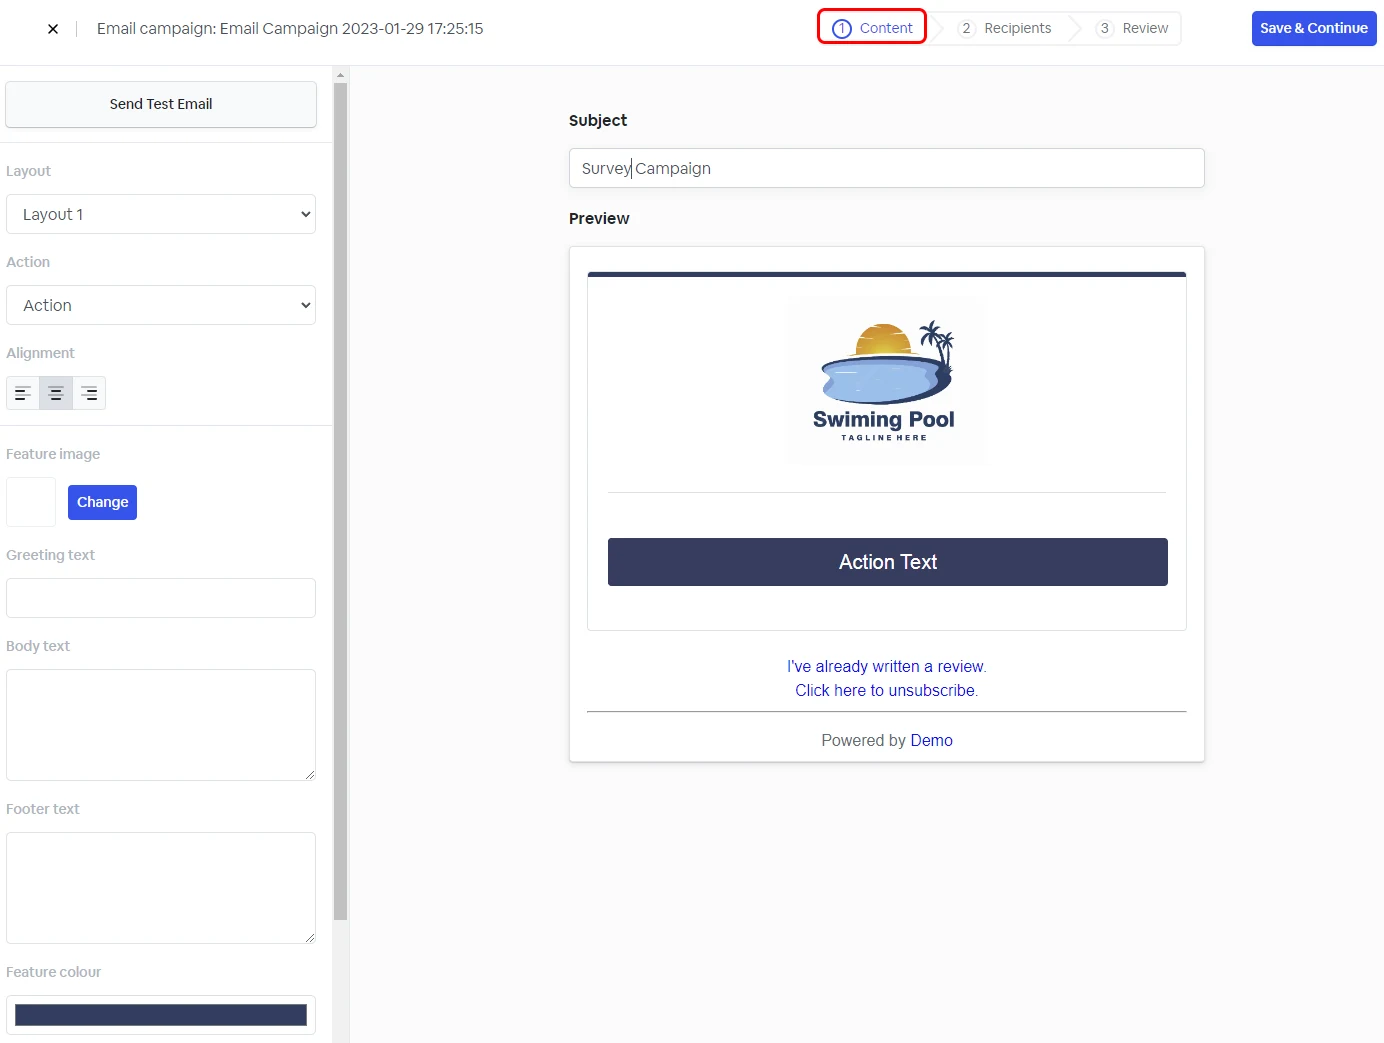
### Step 1 - Content
**Content** - In this section, you have the option to rename your campaign, input the email subject, greetings, body, and footer text, tailor the color scheme, include a custom image, and customize the address link for the action button.
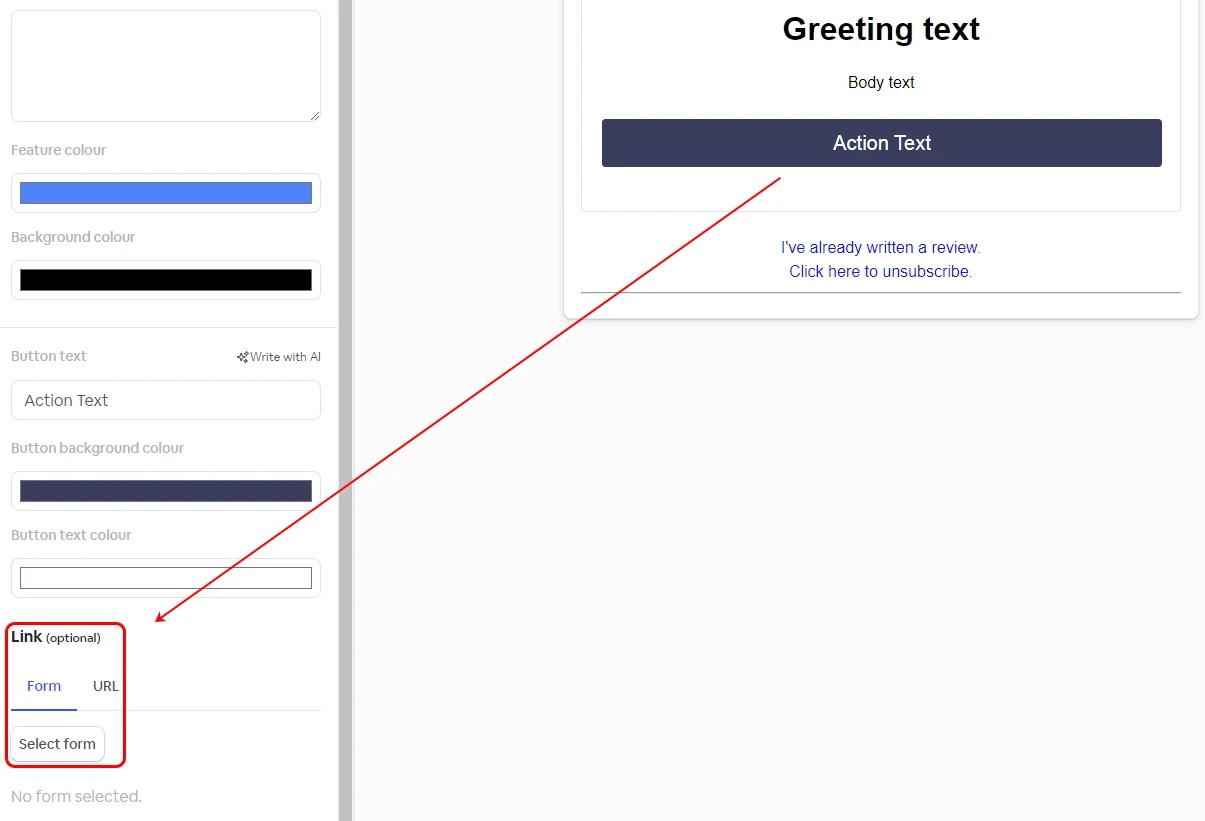
### Define the \[link] action
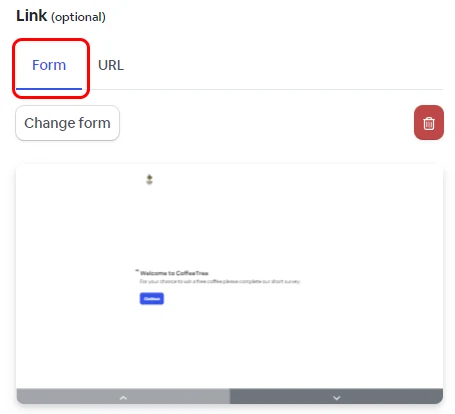
The Action Button has two options: **From** and **URL**.
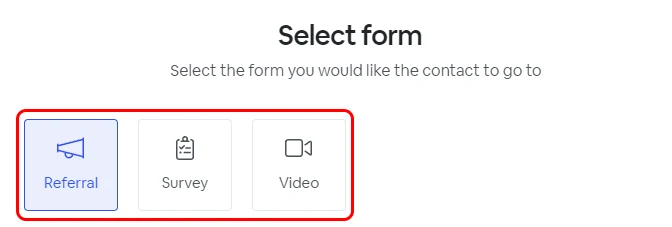
The **Form** provides the option to select a link that redirects the customer to an internal platform form, such as a **Referral**, **Survey**, or **Video Testimonial** form.
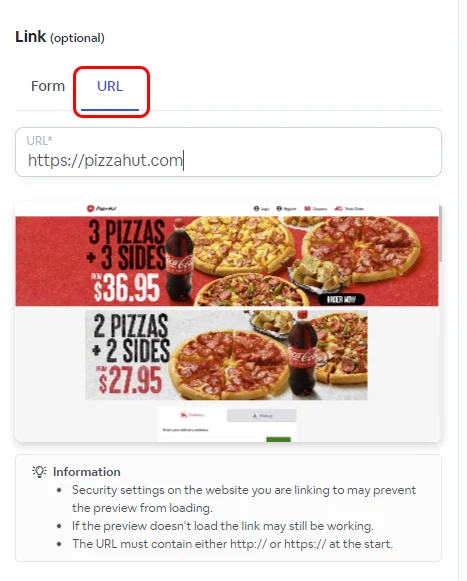
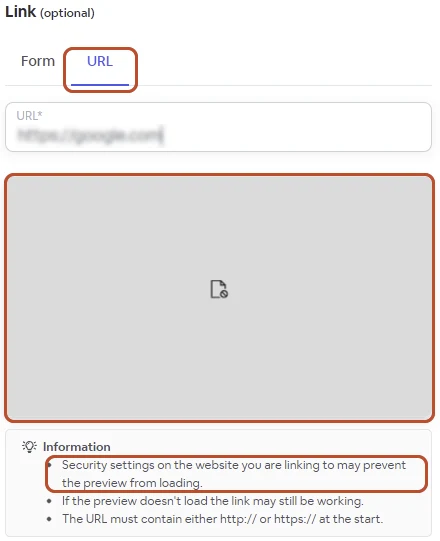
The **URL** option allows you to direct the customer to an **external URL** of your choosing, such as a promotional web page on your website.
> **Info:**
>
> If your custom URL preview appears as in the example below, rest assured that the URL will still function. The absence of a preview is attributed to your website's security settings.
>
> 
### Step 2 - Recipients
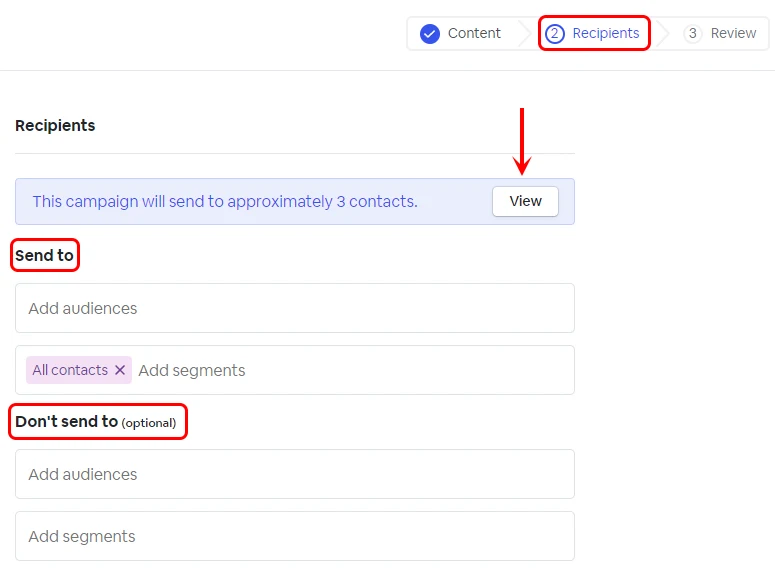
The recipient's step allows you to select your **Audience** or **Segment** with the contacts you want to use for this Campaign.
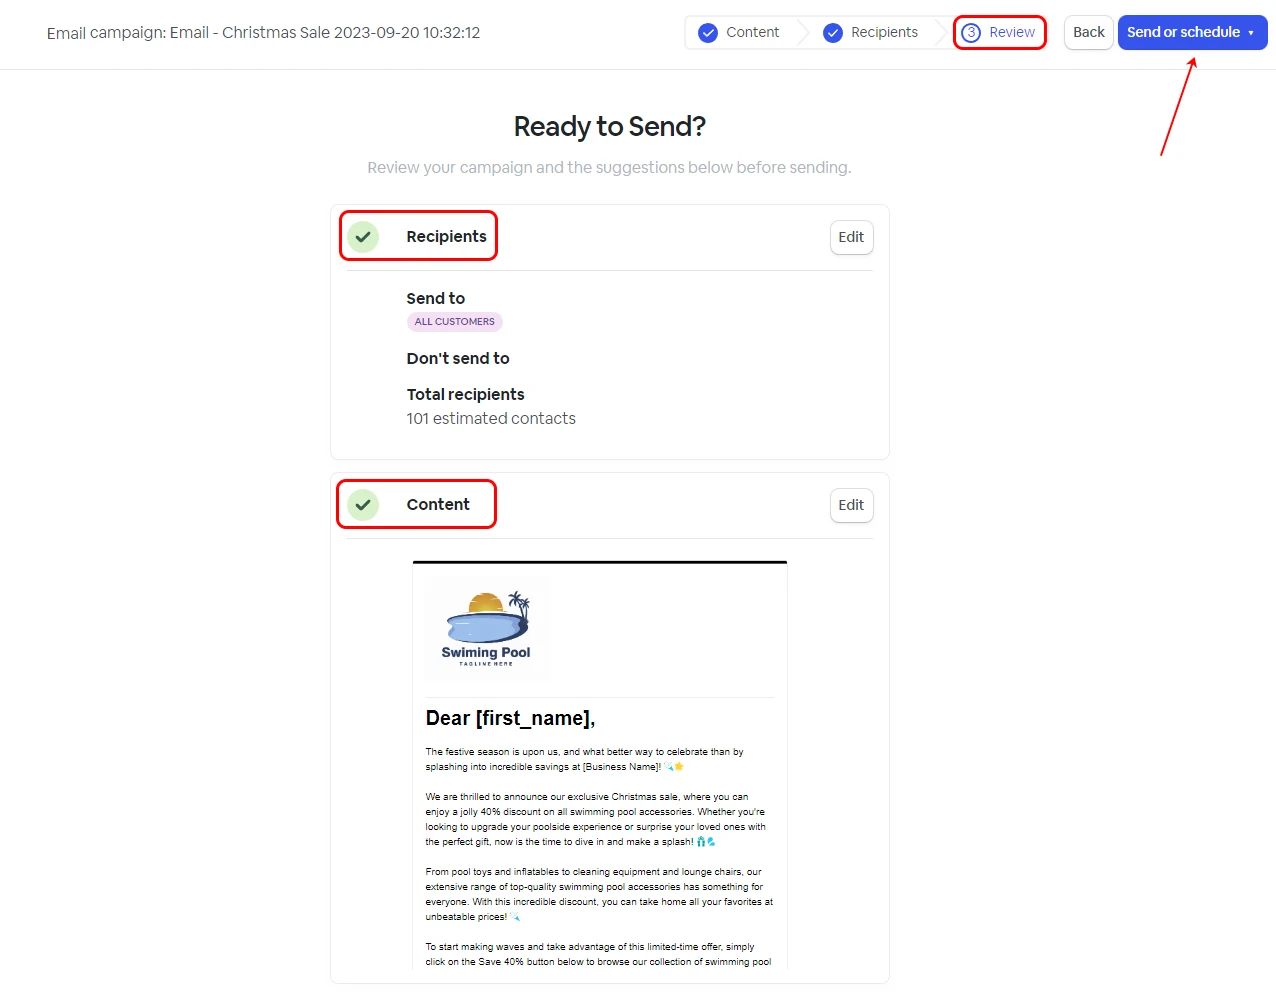
### Step 3 - Review
The third and final stage of the text email campaign setup gives an overview of the campaign recipients, content, and tracking.
You can send the campaign immediately or schedule it using the **Send or Schedule** button at the top right corner.